Congrats, your buyer just went under contract!
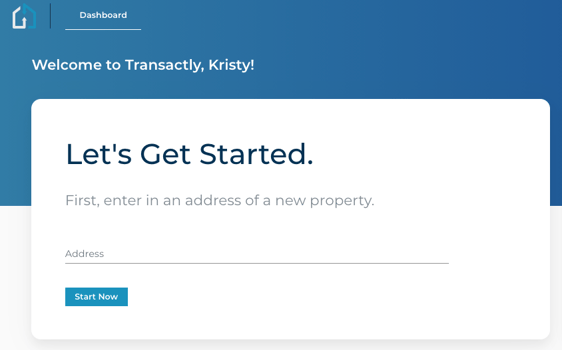
1. From your dashboard, enter the property address and choose Start Now
2. Select 'Buyer' under party that you represent.
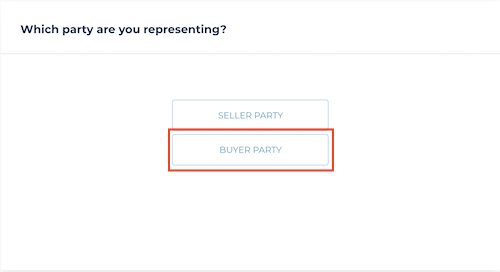
Note: If you are a licensed agent as well as a transaction coordinator, you may also need to choose if you are creating the transaction as a TC or as the primary agent.
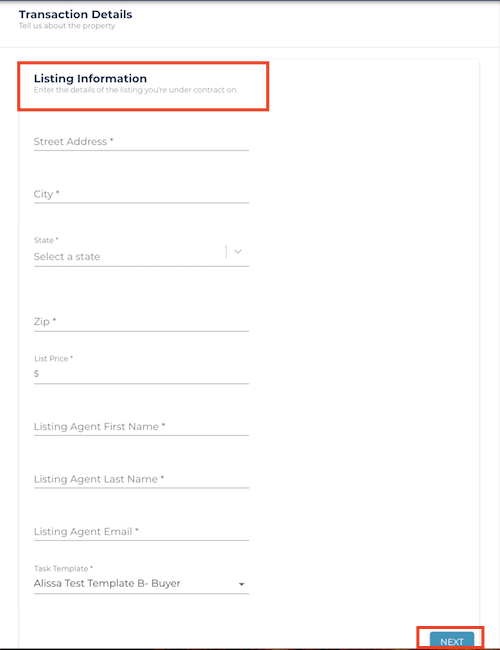
3. Enter the listing details, including the listing agent's information, and select your task template.
Note: If you haven't created your own custom templates, Transactly's template will be applied.
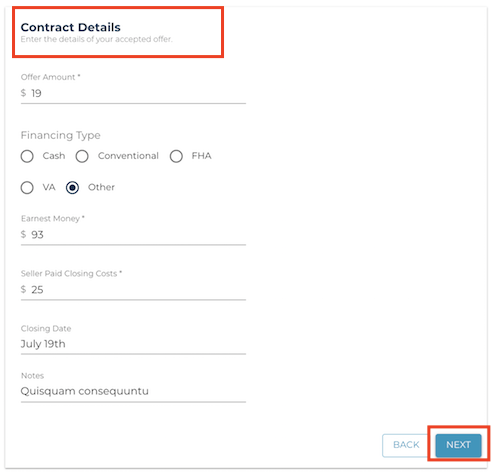
4. Include the accepted contract information, including contingencies.
Note: Contingencies will not create tasks. These are only displayed on the offer card once created.
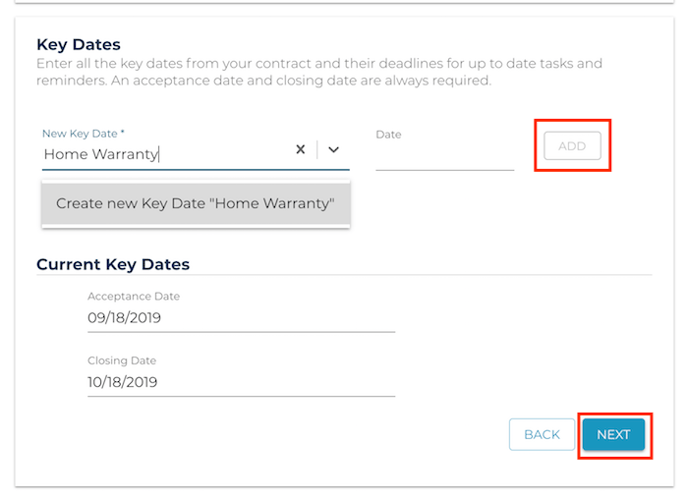
5. Enter key dates
Input the contract's key milestones that will be centralized on the platform as well as used to calculate due dates for the contract to close tasks. Type in the field to create your own custom key dates. At a minimum, an Acceptance Date and Closing Date are required.
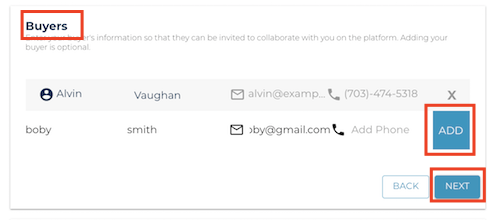
6. Invite your buyers
Note: If you want your buyers to join the transaction using the platform, you'll enter their information here. Don't worry, you can add them later on, as well as any other agents or vendors that need to be added.
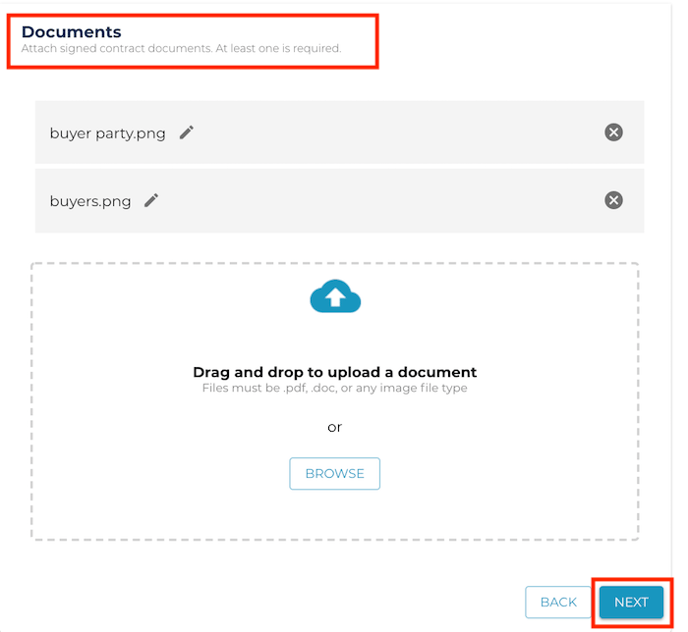
6. Upload any documentation for the transaction.
Note: These WILL NOT be shared with the listing agent upon upload. You'll need to 'Share' them from the documents section if you want the listing party to have a copy. They will also be placed in the "Other" category unless changed.
7. Review the summary. Use "Edit" to go back to any section to make changes, or select "Submit" to create your purchase transaction.
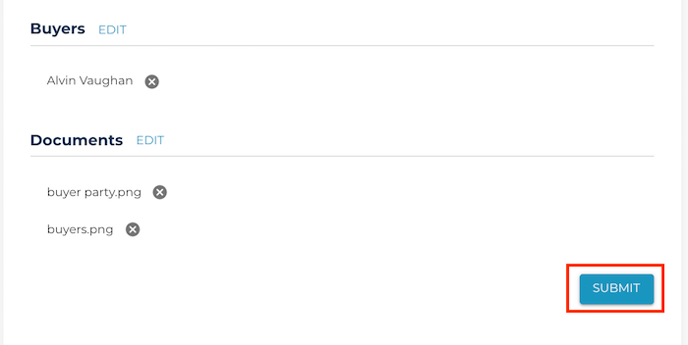
You're done! All your contract to close tasks have now been generated. See our other articles on managing tasks, amending a contract, or documents.
Questions about creating purchase transactions?
Contact Support@transactly.com or chat us in the bottom right.
