1. From your dashboard, enter the property address and choose Start Now
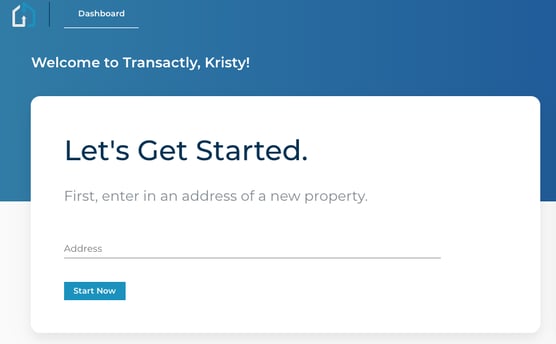
Note: If you are matched with a TC but want to complete the listing coordination yourself, choose "No, I'll manage it on my own".
-Which party are you representing? The Seller Party, as this is a listing transaction
-Is this listing already under contract? No
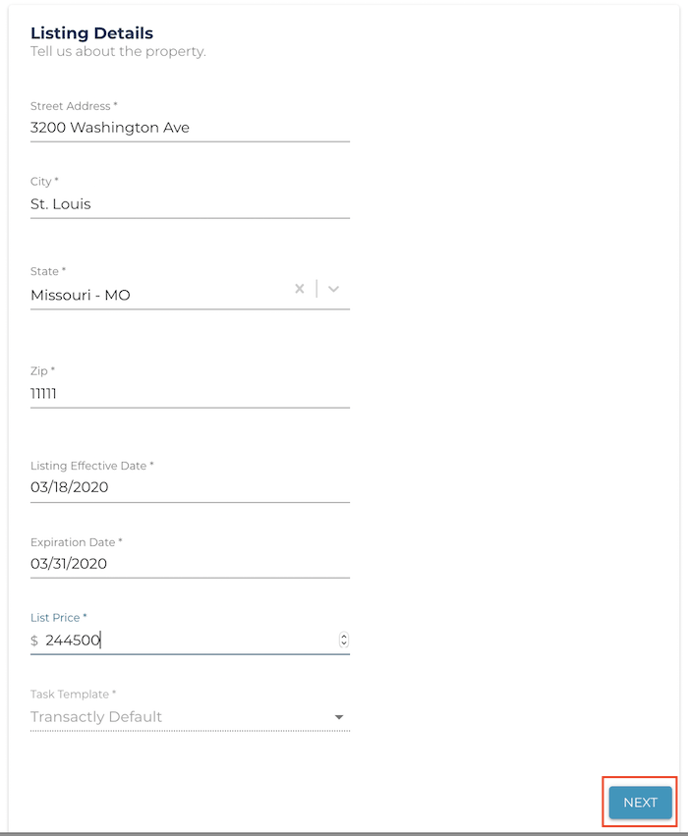
2. Enter the property details.
Enter all property details including the listing effective date, expiration, and list price.
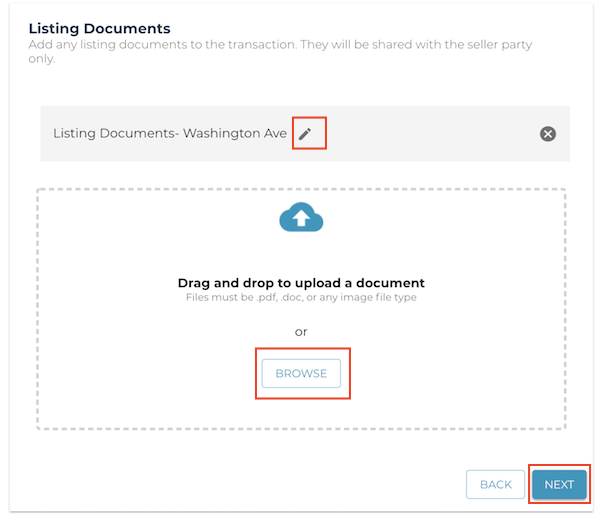
3. Upload any listing documents.
Any documents uploaded here (optional) will only be shared with the seller party.
If you need to edit the document names, you can do that using the pencil icon.
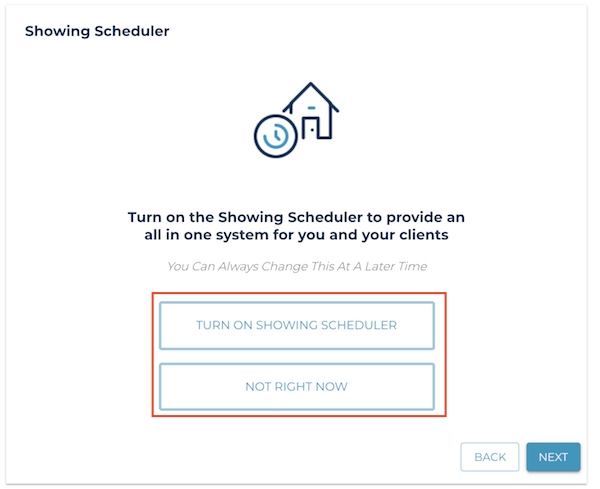
4. Choose to enable or disable the showing scheduler for this transaction.
If you choose to enable the showing scheduler, see showing settings.
5. Enter any team members to be added to the transaction.
Using the checkbox at the bottom, you can select whether to invite them to the transaction or just add them as a contact. If you are inviting them, they will not receive any additional notifications about offers, etc. on this transaction until they have accepted your invite.

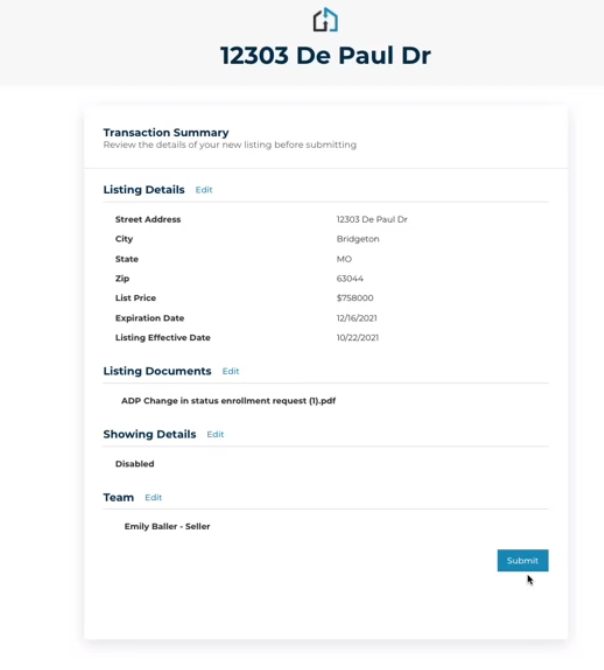
6. Review a summary of all the information entered.
You can select "Edit" next to any of the areas to go back and make changes.
7. Add a photo
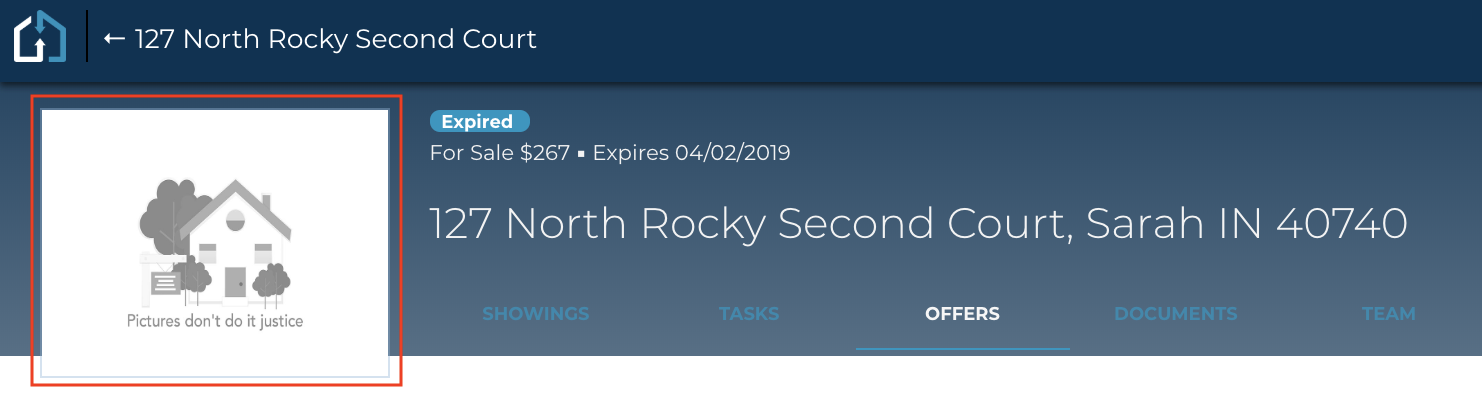
You've now set up your listing, it's time to start receiving offers!
Questions about creating a listing transaction?
Contact Support@transactly.com or chat us in the bottom right.