
Sign in through our admin area. If you do not have a login to the admin area, please talk to the manager of your department.
1. Within your Admin login, navigate to the Templates tab and click on Create Template

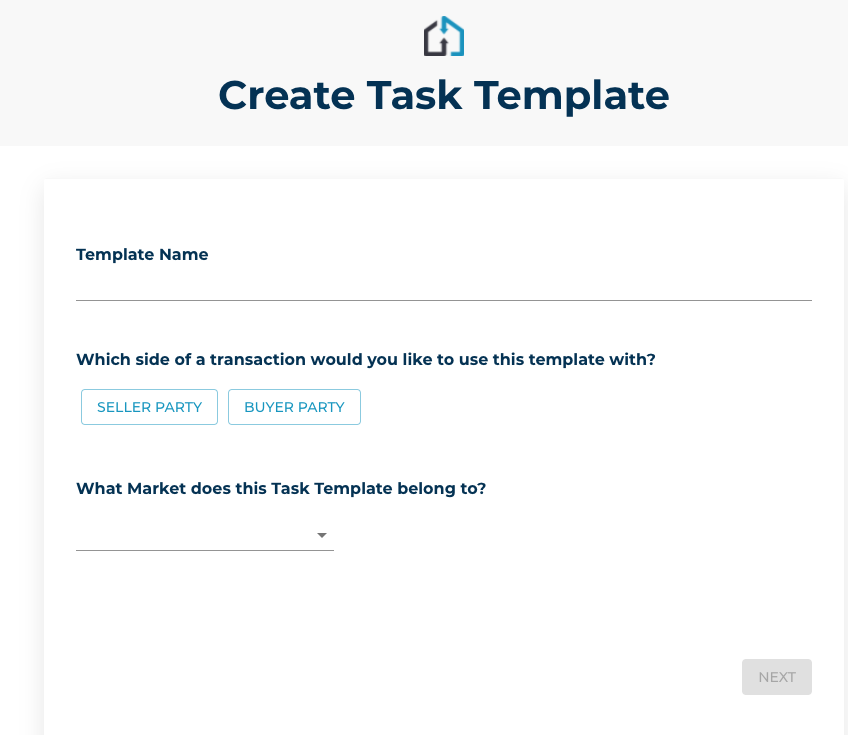
2. From the Create Task Template page
Fill in the Template name, select Seller or Buyer side the template would be for, and the State Market the template belongs to.
You can then decide whether you would like to make the new template your default
3. The next page allows you to copy a previously created template and/or Add Task(s) as necessary.
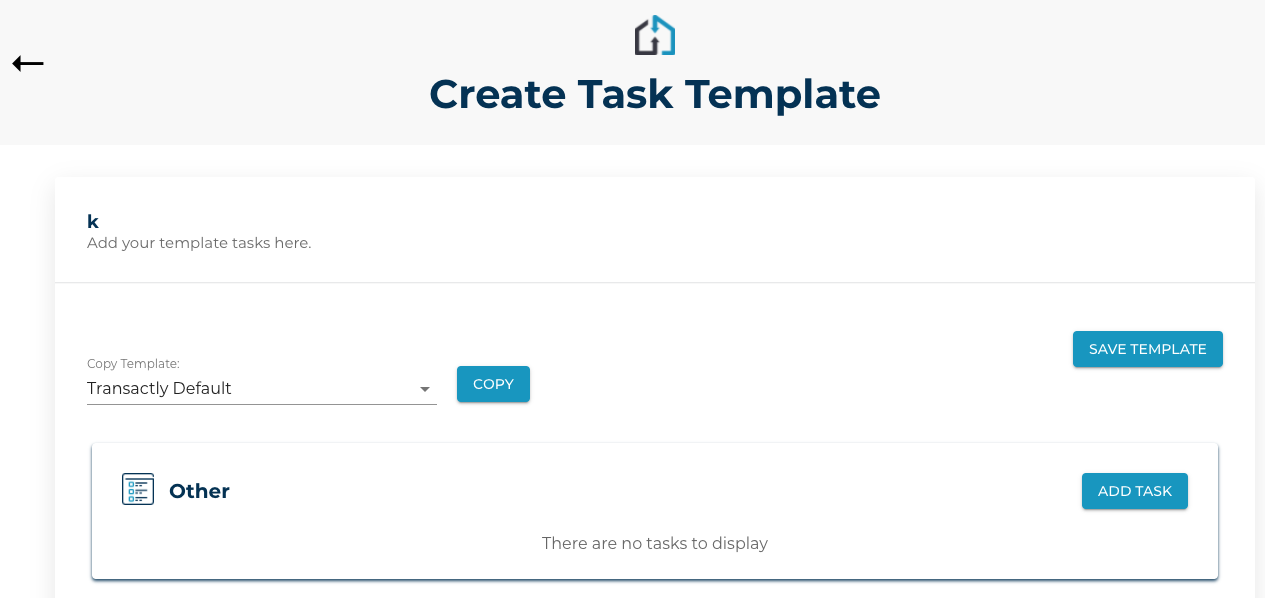
Task Detail descriptions are below. Click Save to Add Task.
- Title: The description of the task as you want it to be seen.
- Private (Next to Title): Use this when you are the only one who needs to access the task. (Otherwise, everyone on your team can see it)
- Add Note: Include a note that would be applied to the task every time it is added to a transaction. An example where this can be used is for tasks like "Schedule Inspection". You can store a note with your preferred inspection vendors to be added every time this template is applied.
- Private (Next to Note): Use this when you want this note to only be visible to yourself. (Otherwise, everyone on your team can see it)
- Calculating the due date:
Date Modifier in Days: The number of days after a certain date, like listing effective date, that the task should become due. This date can also be negative, so -5 days from the listing effective date for making sure the home has been staged.
Target Date: The date to be used to start calculating the number of days. For example, listing effective date, contract acceptance, closing date, or any of the other contract milestones in between.
- Assigned to: Choose a role in your party to whom the task will become assigned to automatically.
- Category: Choose an existing category for your task or type in a new category name. You can also remove the category name, but the task will be put into "Other".
- Color: Select a color to apply to the task if you want to color code.
4. Add additional tasks (as necessary) to the template
Your template and its tasks aren't saved until you select 'Save Template' at the top. It's recommended you save more than once while completing your template setup. Once you've saved it, it's available to use across your transactions.