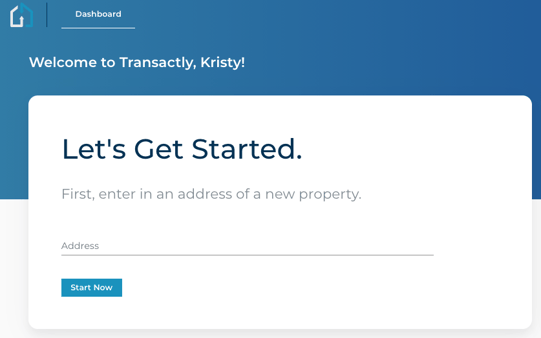
1. From your dashboard, enter the property address and choose Start Now
2. Select Seller Party.

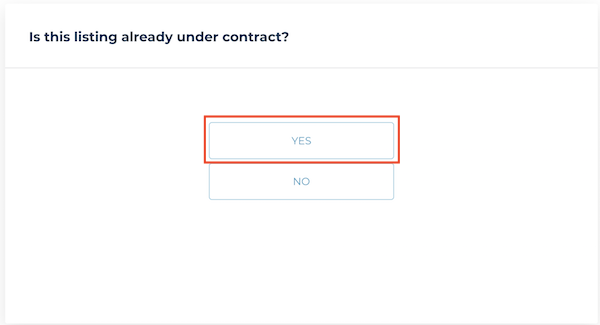
3. Select 'Yes' listing is under contract.
Select 'Next' to add other details to the listing.
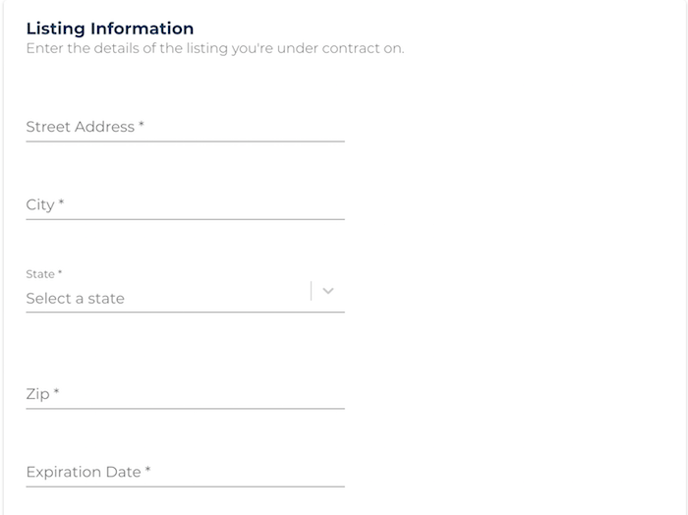
4. Enter the listing details.
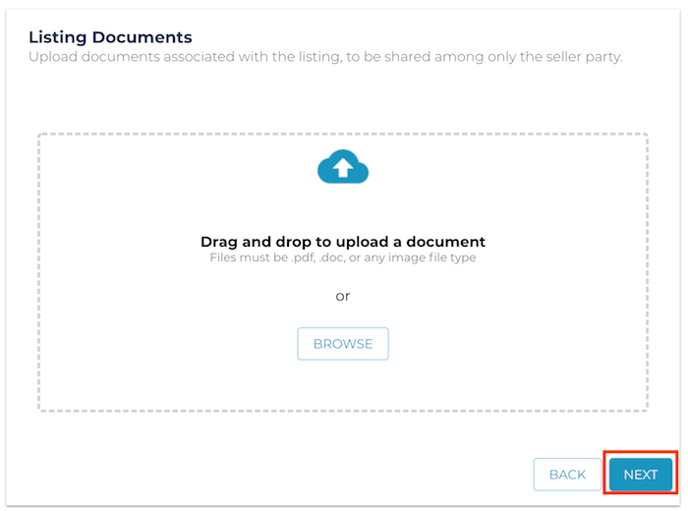
5. Upload any listing or seller-party specific documents.
Documents uploaded here will not be shared with the buyer party, so it's recommended you do not upload your contract paperwork here.
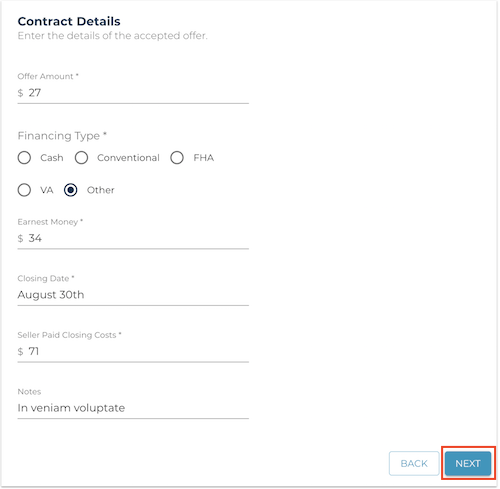
6. Enter the contract details
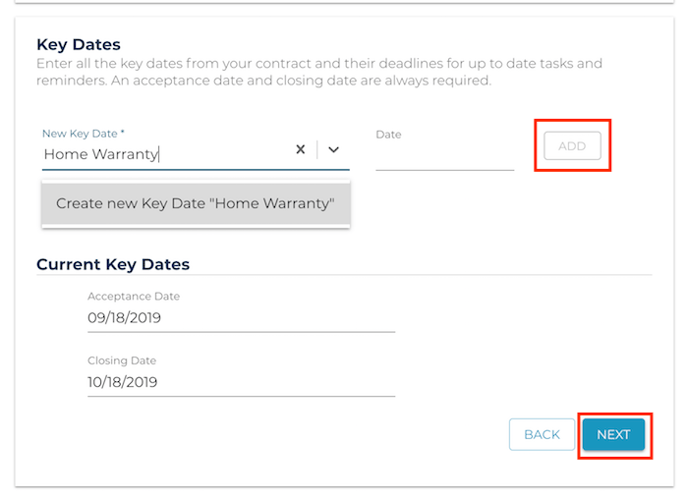
7. Enter key dates
Enter all the key dates that apply to this contract. A minimum of acceptance date and the closing date is needed. You can enter your own key dates by typing in the field instead of selecting from the standard dates in the list.
8. Add contract documents
Contract documents uploaded here will be shared with both parties. At least one contract document is required.

9. Enter Team Members
Add a buyer's agent (required) as well as any members of your own team. You can invite them to collaborate with you on the platform, or just add them as a contact by unchecking the box.

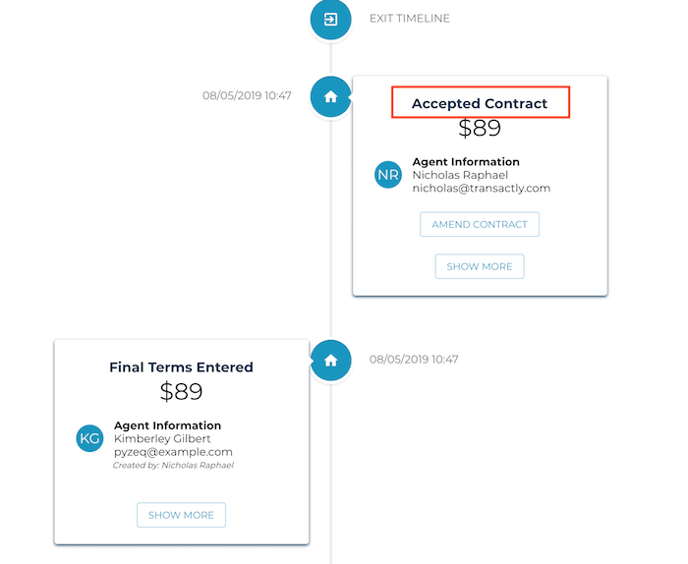
9. Once you've reviewed and created the transaction, your listing is now under contract. All tasks on your template should be applied.
Questions about creating a transaction for a listing under contract?
Contact Support@transactly.com or chat us in the bottom right.